Getting Started
Setting up a Flow Data Table consists of the following steps:
- Install the Flow Data Table managed package
- Drag and drop the Flow Data Table component onto a screen in flow builder
- Configure the Flow Data Table's properties to display a list of records
If any of the above is confusing, do not worry. We are going to cover the steps in detail below.
The guide below assumes that you are using a developer edition or scratch org with the default Salesforce sample data.
This guide assumes you have some basic knowledge of the Salesforce Flow Builder tool. If you have never used the tool before, or are not familiar with it, we suggest completing the following Trailhead on the topic first at the Salesforce Trailhead Website.
Install the Flow Data Table Managed Package
-
Go to the AppExchange listing Flow Data Table Ultimate Edition and click the Get It Now button
- When prompted log into your Salesforce instance
- Select your environment type: production or sandbox (test)
If you select a Production Salesforce instance you will be prompted for the number of licenses, credit card info, and be placed into a 30 day trial. If you install into a Sandbox or Developer Edition you will not be prompted for licenses or credit card info.
If you would like to install into your Production Salesforce instance for a 30 day trial and not be prompted for credit card info then email contact@tigerfacesystems.com for the application installation link.
- Follow the prompts for the production or sandbox installation
- Select Install for Admins Only
- Click Install
Display Records in a Flow
Lets display some account data in a flow!
- In setup, enter flows in the quick find box and click Flows
- Click New Flow
- Select Screen Flow and click Create
- Drag a Get Records element onto the canvas
- Fill out the Get Records element form as follows:
Label: Get Accounts
API Name: Get_Accounts
Object: Account - Under "Filter Account Records" select Get All Account Records in the Condition Requirements field
- Skip the sort section and scroll down until you see "How Many Records to Store" and select All Records
- Under "How to Store Record Data" select Automatically store all fields
- Click Done
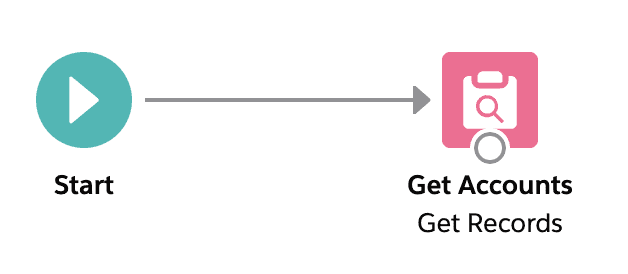
- Connect the start element to the Get Accounts element
At this point, your flow is fetching all of the Accounts records and placing them into a resource collection variable. Your flow canvas should look like the below:
Now we can add the data table to the flow:
- Drag a Screen element onto the canvas
- In the Screen Components pane, scroll to the bottom and drag the Flow Data Table onto the screen
- Fill out the required fields for the Flow Data Table as follows:
API Name: AccountsTableCmp
Object API Name: Account
Record List: Get_Accounts (Note that this name may vary depending on how flow builder generated your record collection variable) - Scroll down and click the Configure Fields button
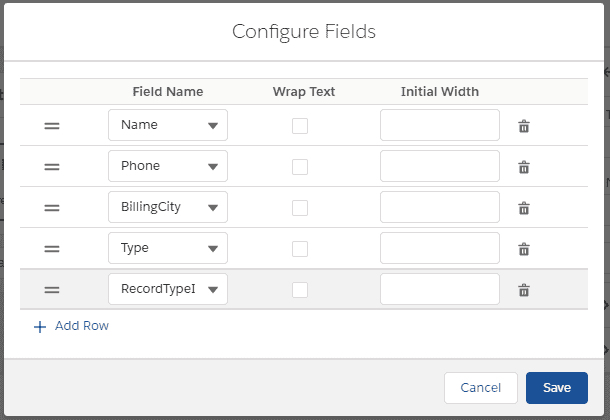
- Configure the fields Name, Phone, Billing City to be displayed
- Click Save
- Click the header of the screen and label it Accounts Table
- Click Done
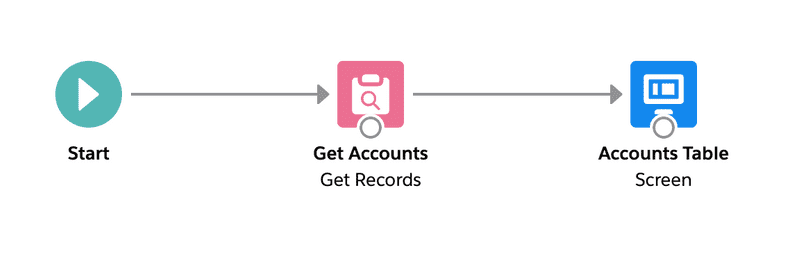
- Connect the Get Accounts element to the Accounts Table screen element
At this point, your flow should look like the below:
- Click Save and enter the name Accounts
- Run the flow
The flow should open in a new window and display the data table.


